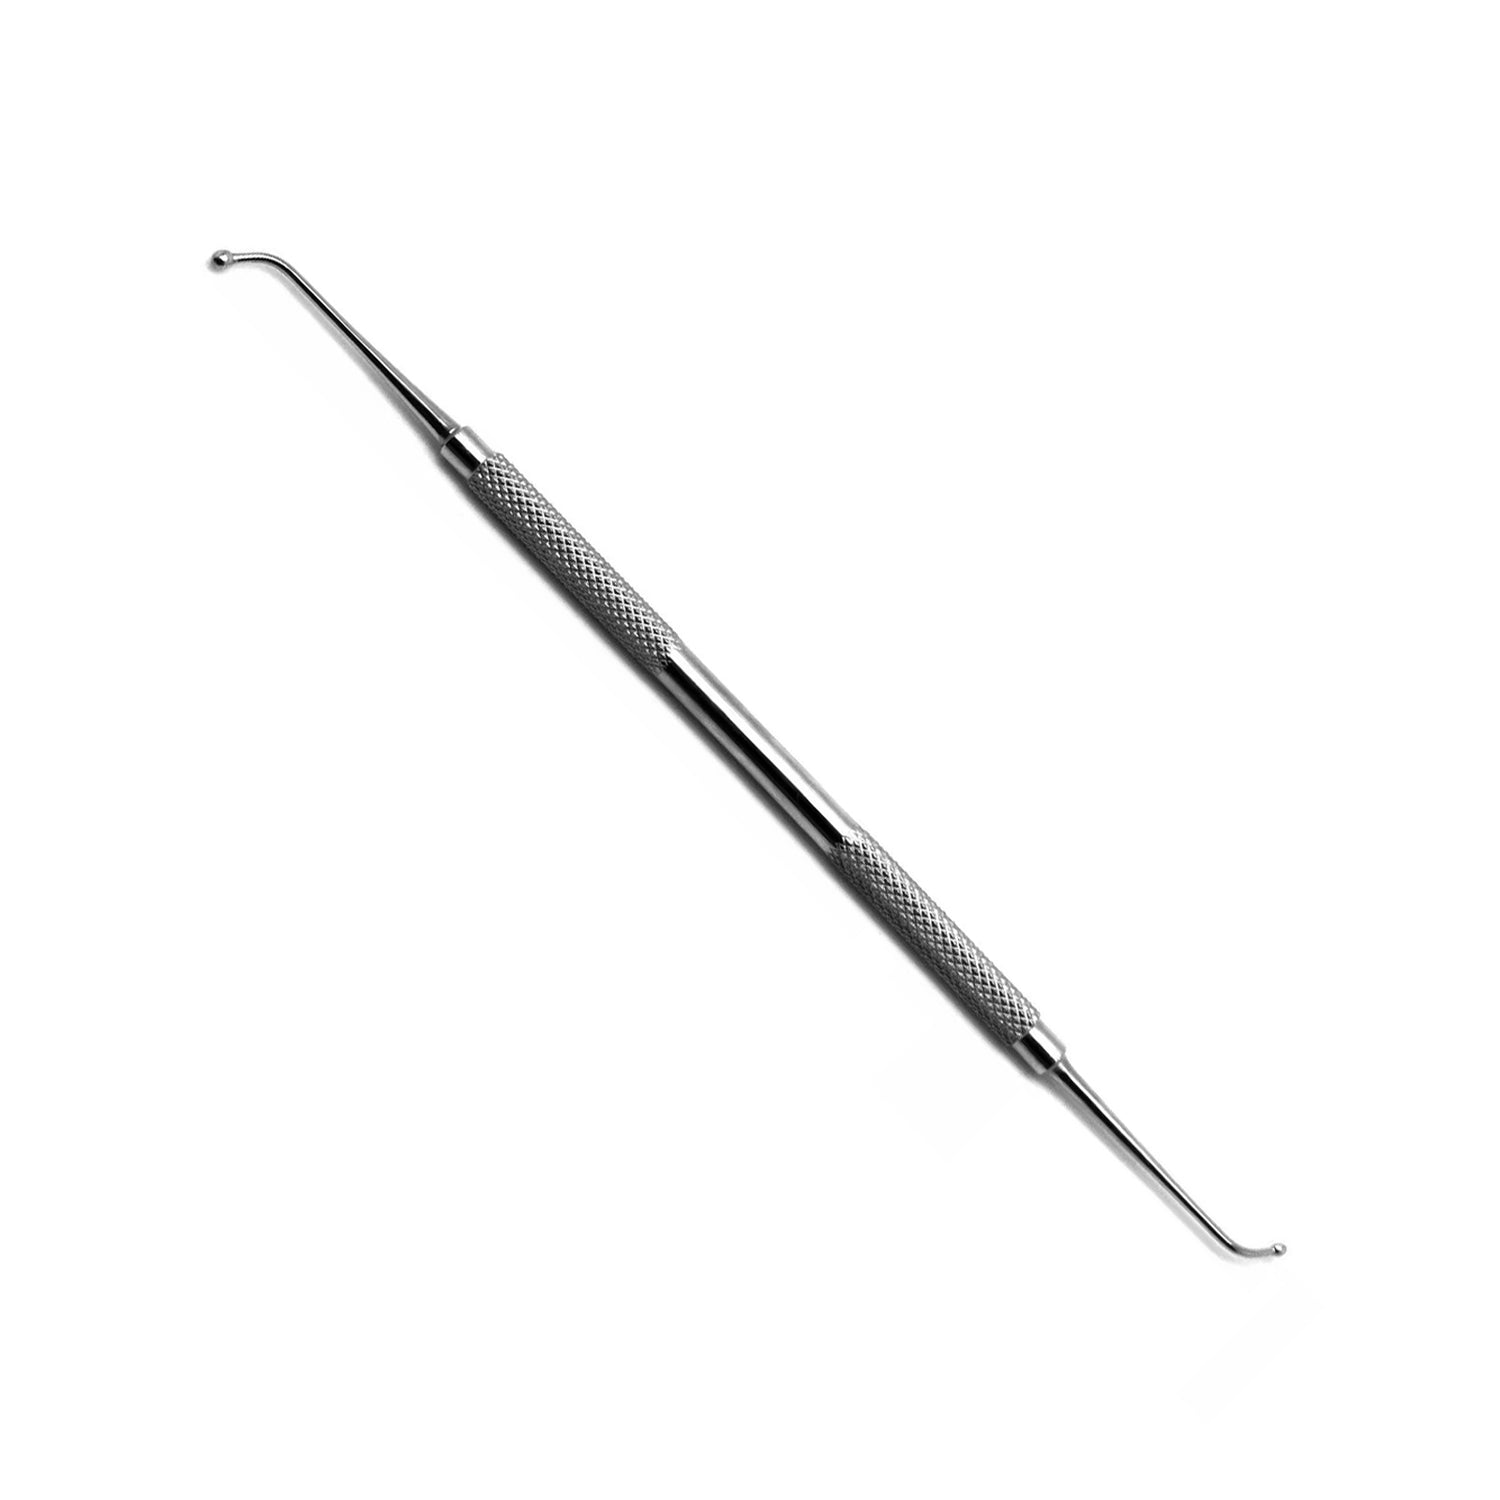
Introduction
Ensuring the cleanliness of dental instruments is essential for the safety of patients and dental professionals. Dental instruments come in direct contact with patients' mouths, so proper cleaning and sterilization are crucial to preventing the spread of infections. In this guide, we’ll walk you through the best practices for washing dental instruments in a safe, effective manner, ensuring a hygienic and compliant environment for your practice.
Why Is It Important to Wash Dental Instruments?
Dental instruments play a significant role in any dental procedure, and they must be carefully cleaned and sterilized to maintain their functionality and prevent contamination. Improperly cleaned instruments can carry harmful pathogens, risking cross-contamination and infections. Therefore, it is vital for every dental office to follow a structured process to sanitize these tools.
Step 1 – Prepare for Cleaning
Before you begin cleaning dental instruments, ensure that you have the right materials and equipment:
- Personal protective equipment (PPE): Wear gloves, goggles, and a face mask to protect yourself from direct contact with contaminants.
- Cleaning solution: Use an enzymatic cleaner that is designed specifically for dental instruments.
- Tools: You’ll need a sink or a cleaning station, a brush for manual scrubbing, a sonic cleaning unit (optional), and sterilization equipment like autoclaves.
Step 2 – Pre-Rinse and Soak
The first step in washing dental instruments is to rinse them thoroughly to remove any visible debris. This prevents the buildup of hardened substances when they are soaked. After rinsing:
-
Soak instruments: Place the instruments into a basin of lukewarm water with an enzymatic cleaner. Soaking helps break down proteins and other residues, making it easier to clean the instruments. Follow the instructions for how long to soak, typically around 10 to 15 minutes.
-
Do not handle instruments too harshly during this stage to avoid any damage.
Step 3 – Manual Cleaning or Ultrasonic Cleaning

After soaking, it’s time to clean the instruments. There are two main methods: manual scrubbing or using an ultrasonic cleaner.
Manual Cleaning:
If you choose manual cleaning, use a soft-bristled brush, along with your enzymatic cleaner, to gently scrub each instrument. Focus on all surfaces, including hard-to-reach areas like joints or crevices. Be sure to clean the handles and tips, as these can accumulate debris.
Ultrasonic Cleaning:
An ultrasonic cleaner uses high-frequency sound waves to create microscopic bubbles in a cleaning solution. These bubbles gently remove debris from instruments, especially those with intricate designs. Place the instruments into the ultrasonic cleaning unit and follow the manufacturer's instructions for time and solution concentration. Ultrasonic cleaning provides thorough cleaning, especially for hard-to-reach spots.
Step 4 – Rinse and Dry
Once you’ve cleaned your instruments:
- Rinse thoroughly: Use distilled or deionized water to rinse off any remaining cleaning solution. This ensures that no detergent residue is left on the instruments.
- Dry properly: After rinsing, dry the instruments using a lint-free cloth or disposable towel. Ensure they are completely dry before moving to sterilisation, as moisture can interfere with the sterilisation process.
Step 5 – Sterilisation

Sterilization is the final step in ensuring that dental instruments are safe for use. This process eliminates all microorganisms, including bacteria, viruses, and fungi.
The most common method of sterilization in dental offices is autoclaving, which uses steam under high pressure to kill harmful microbes.
- Prepare instruments: Before placing instruments in the autoclave, ensure they are properly packaged to maintain sterility after the process. Instruments should be placed in sterilization pouches or wrapped in sterilization wraps.
- Autoclave process: Follow the manufacturer's instructions for the autoclave, including cycle time and temperature. Typically, autoclaves run at a temperature of 121°C to 134°C (250°F to 273°F).
- Check sterilization indicators: Use sterilization indicators to confirm that the correct temperature and pressure were reached during the cycle.
Once sterilized, the instruments should remain sterile as long as they stay in their packaging until they’re ready for use.
Step 6 – Storage of Dental Instruments
Proper storage is essential to maintain the cleanliness and sterility of dental instruments. Store sterilized instruments in a clean, dry, and dust-free environment. Ideally, they should be stored in a closed cabinet or drawer that is designated for clean instruments only.
Additional Tips for Maintaining Dental Instruments
- Avoid overusing instruments: Instruments that show signs of wear and tear should be replaced promptly to ensure optimal performance.
- Use instrument maintenance kits: Regularly lubricate instruments, especially those with moving parts, to prolong their life and ensure smooth operation.
- Follow infection control protocols: Keep up-to-date with the latest infection control guidelines and protocols to ensure compliance with regulations.
Conclusion
Washing and sterilizing dental instruments is a detailed process that ensures the safety of both dental professionals and patients. By following these steps—pre-rinsing, soaking, cleaning, sterilizing, and properly storing instruments—you can minimize the risk of infection and provide the best care for your patients. Always stay informed about best practices and maintain a sterile environment for your dental instruments, ensuring a safe and efficient practice for everyone involved.

